-
The 7-Step Walkthrough I Use Now
-
Step 1: Walk the Dog Ear Fence and Check Every Fence Latch
-
Step 2: Put a Date on Every Bullard Hard Hat and Bullard Face Shield
-
Step 3: Treat the Bullard EVA PAPR Like a Tool, Not a Display Piece
-
Step 4: Learn How to Read a Fire Extinguisher Tag
-
Step 5: Check the Storage Area Before You Check the PPE
-
Step 6: Make the Documentation Painful to Skip
-
Step 7: Train the Crew on the Why, Not Just the What
-
Step 1: Walk the Dog Ear Fence and Check Every Fence Latch
-
A Few Notes on Cost
I wasn't always the guy who reads every fire extinguisher tag. In my first year (2016) as a safety coordinator, I signed off on a monthly inspection without actually checking the pressure gauge. An auditor caught it within twenty seconds. That was embarrassing, but it was also the push I needed to build the checklist I still use today.
This checklist is for anyone doing site safety walkthroughs: safety managers, HSE leads, superintendents, even the person who got handed the PPE closet key and now has to make it work. I have made more mistakes than I can count, but I have documented the expensive ones. These seven steps are the result.
One thing before we start: I don't buy the cheapest safety gear anymore. I calculate total cost of ownership. The cheapest hard hat that doesn't get worn is more expensive than a Bullard that does. The cheapest face shield that fogs up and ends up in a drawer is a waste. You will see that mindset show up below.
The 7-Step Walkthrough I Use Now
Step 1: Walk the Dog Ear Fence and Check Every Fence Latch
Most walkthroughs start at the building door. I start at the fence. Around our storage yard, we have a wood dog ear fence with shaped picket tops. Those shaped tops look nice, but they hide cracks and rot better than square ones. I learned to inspect the bottom of each picket, not just the top. A dog ear fence can look solid from six feet away and be soft at the base if it has been sitting in water.
Then I check every fence latch. Not just the main gate, every one. A fence latch might sound kinda minor for a safety checklist, but we have caught 14 broken or misaligned latches in the past 18 months. One gate looked latched, but the latch didn't catch. If that gate swings open and a forklift backs through it, you have turned a minor maintenance item into a major incident. Test every latch by closing the gate and giving it a firm push. If it opens, fix it.
Step 2: Put a Date on Every Bullard Hard Hat and Bullard Face Shield
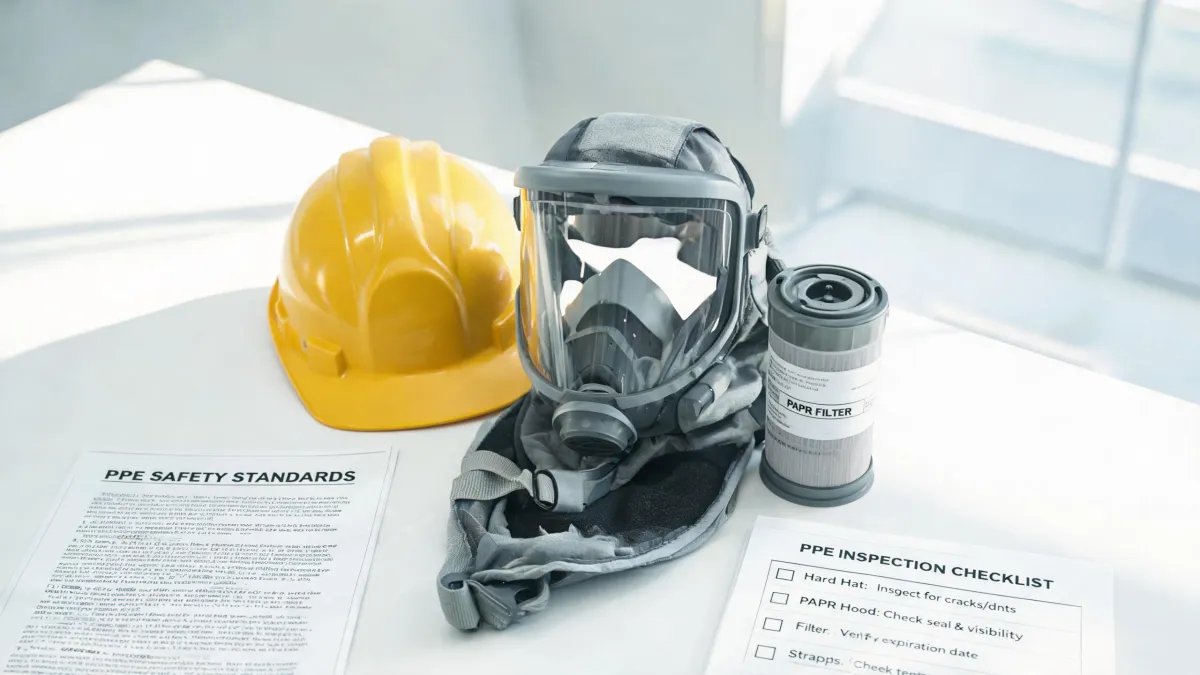
According to Bullard (bullard.com), the company's founder Edward D. Bullard invented the modern hard hat in 1919. That history matters, but it doesn't mean a hard hat lasts forever. If you can't find a manufacture date on the shell, replace it. If the suspension is brittle, cracked, or missing a ratchet dial, replace it. If the shell has a crack, a dent, or any sign of UV damage, replace it.
The Bullard face shield is another piece I used to ignore until it failed. A face shield is not a fashion accessory. It is a barrier. But a scratched or pitted Bullard face shield reduces visibility, and a person who can't see well will take it off. That's when they get hit. We now inspect face shields the same way we inspect hard hats: hold it up to the light, look for stress marks, check the mounting system, and make sure the clear lens is actually clear.
Also, face shields and safety glasses are not always interchangeable. Even a rated Bullard face shield on an ANSI Z87.1 headgear is designed for impact and splash, but a particle coming from under the shield can still reach your eyes. If the task calls for primary eye protection, wear glasses underneath.
Step 3: Treat the Bullard EVA PAPR Like a Tool, Not a Display Piece
The Bullard EVA PAPR is one of those systems that looks impressive hanging on the wall, but it only protects if it's working. A powered air-purifying respirator has a battery, a motor, filters, a hose, and a headpiece. Every one of those parts can fail quietly.
I learned this the hard way in September 2022. We had a tight schedule, and I skipped the pre-use airflow check on a PAPR because I had used it the day before. It was the one time it mattered. The airflow alarm sounded as soon as we powered it up. If we had been in the middle of a grinding job, I would have had a worker without respiratory protection and a supervisor who looked like he didn't know what he was doing.
Now the rule is simple: power it up, check the flow, verify the battery, inspect the hoses, and confirm the filter has a NIOSH approval label and isn't expired. The Bullard EVA PAPR is a great tool, but the tool only works if you treat it like a machine with parts that wear out.
Step 4: Learn How to Read a Fire Extinguisher Tag
This is the step that got me into trouble in my first walkthrough. I looked at a fire extinguisher, noticed it had a tag, and assumed someone else had already checked it. Nobody had.
This section is my quick-reference guide for how to read fire extinguisher tag entries without pretending you know:
- Find the monthly inspection block. It should show dates and initials every 30 days. If there is a gap, the extinguisher hasn't been inspected.
- Check the annual maintenance record. That's the sticker or punch from a certified service company. If it's past due, the unit needs service.
- Look for a hydrostatic test date. The interval depends on the extinguisher type, so check NFPA 10. If the tag says hydro test due 2026, that's different from hydro test completed 2026.
- Do a physical check: pin, tamper seal, gauge in the green, hose, nozzle, and damage.
OSHA 29 CFR 1910.157(e)(2) requires monthly visual inspections of fire extinguishers. That's not optional paperwork. I keep a clipboard with a row for every extinguisher, and I take a photo of each tag after I finish. Photos make it hard to argue about whether the inspection happened.
Step 5: Check the Storage Area Before You Check the PPE
Most people skip this step because it's not on the inspection form. That's a mistake. I have personally ruined enough PPE by bad storage to know this matters.
Don't store a Bullard face shield next to a bottle of solvent. Don't leave a Bullard EVA PAPR headpiece on a truck dashboard. Heat, sunlight, and chemicals degrade plastic, rubber, and electronics. We now do a five-second sweep of the PPE storage room: check the shelf, check the temperature, look for oil stains, and make sure the equipment isn't stacked under a leaking pipe.
It feels small until you issue a face shield that cracks the first time it gets hit because it was stored wrong. I learned that when I ordered $3,200 of replacement PPE and realized the old stock had already been ruined by a leaking pipe. Actually, the old boxes were still in the corner, clearly warped. The lesson is the same: storage is part of the inspection.
Step 6: Make the Documentation Painful to Skip
The checklist is not the work. The documentation is the proof that the work happened. I used to hate this part. Now I do it because I have been burned by it.
Take a photo of every completed page. Write the date on the checklist. Note the fire extinguisher tag readings. If you find a broken fence latch, put it on the action item list with a due date. A walkthrough is only useful if someone can look at the paperwork later and know exactly what was checked and what was wrong.
I also post the completed checklist in the crew area. It makes the inspection visible, and it makes it harder for me to skip a step because everyone can see what I said I checked.
Step 7: Train the Crew on the Why, Not Just the What
Everything I had read about PPE compliance said to focus on equipment standards. In practice, the biggest failures on our sites came from people who didn't understand the purpose of the gear. You can buy the best Bullard hard hat and the most comfortable Bullard EVA PAPR, but if the crew doesn't know why the equipment matters, they won't maintain it.
I now spend ten minutes a month showing someone how to read fire extinguisher tags, how to check a fence latch, or how to do the pre-use PAPR test. The training doesn't have to be a formal class. It can be a quick conversation at a morning huddle. But it has to happen.
One of the best results came from a new crew member who found a cracked Bullard face shield during the pre-work check. She didn't know the model. She just knew the face shield was scratched and the mounting clip looked wrong. She called it out. That's the point of training: to make the person with the least experience comfortable speaking up.
A Few Notes on Cost
If you are still buying the lowest priced hard hat and hoping for the best, I get it. I was that safety coordinator for years. But I stopped after I added up the reorder frequency, the time spent replacing broken gear, and the credibility I lost when an auditor saw a worker wearing a cracked shell.
Total cost of ownership is not a fancy phrase. It means considering what the equipment costs over its entire life. A Bullard face shield that lasts through the project and actually stays on the worker's head is cheaper than a shield that sits in a drawer. A Bullard EVA PAPR with NIOSH-approved filters and a battery that holds a charge is cheaper than a production delay caused by equipment failure.
Every spreadsheet said the cheapest option made sense. My gut said otherwise, and my gut was right. Prices change and vendors vary, so verify current pricing before you buy. But please don't make the mistake I made and sort by price only. The cheapest option is often the most expensive one.
Everything has a date. If it doesn't, assume it's expired.