
-
Step 1: Decide What the Fence Is Actually For
-
Step 2: Compare Total Cost, Not the Price Per Foot
-
Step 3: Walk the Line Before You Dig
-
Step 4: Set the Posts Like the Whole Job Depends on It
-
Step 5: Stretch the Fabric or Set the Panels in Order
-
Step 6: Install Gates Last and Test Them Like You Mean It
-
The PPE I Won't Cut From the Fence Budget
-
Four Mistakes That Show Up After the Fence Is Paid For
-
My Last Piece of Advice: Know What You're Not Buying
Let me start with a confession: I'm not a fence installer. I've never stretched an 80-foot roll of chain link by hand. But I've spent the last six years paying for fence installations, tracking invoices, and fixing the problems that show up when you buy on price instead of total cost.
This checklist is for anyone who has to turn a fence project into a line item that doesn't spiral. It covers how to install a chain link fence, when aluminum fence installation is worth the extra money, and why a retractable fence solves some problems but not others. Six steps. Step five is where most of the quality problems show up.
Step 1: Decide What the Fence Is Actually For
Before you compare prices, answer one question: what is this fence supposed to do?
If you're managing foot traffic around a trench for a few days, a retractable fence or portable barrier is enough. Don't overbuild.
If you need a permanent perimeter around a storage yard, chain link is the workhorse. It's easy to repair, widely available, and simple to install when you follow the right order.
If the job is closer to a building entrance or a pool deck, aluminum fence installation usually looks better and won't rust the way steel does. It costs more upfront, but the total cost over ten years can be lower if you avoid maintenance.
The wrong fence isn't the one that's too cheap. The wrong fence is the one that doesn't fit the actual exposure.
Step 2: Compare Total Cost, Not the Price Per Foot
When I first started managing fence budgets, I assumed the lowest bid was the best bid. That assumption cost me money. The quote looked great on paper, then delivery, gate hardware, and removal of the old fence showed up on the invoice.
I now put every component into a spreadsheet before comparing: posts, rails, fabric or panels, tension bars, tie wire, gate hardware, concrete, freight, labor, disposal. Last year, one vendor quoted $9.40 per foot and another quoted $12.20 per foot. The $9.40 price didn't include gates. The $12.20 price did. That's a $720 difference hidden in a sentence I almost missed.
The question everyone asks is 'what's your per-foot price?' The question I ask now is 'what does that price include?'
Step 3: Walk the Line Before You Dig
Call 811. Get utility markings. Then walk the line again.
Most first-timers treat a fence as a stack of materials. The materials are not the hard part. The ground is. Rocks, roots, buried conduit, and frost depth all show up after the contract is signed.
In 2023, I approved a 200-foot chain-link run without pulling the utility prints. We moved a 60-foot section after the crew hit a drain line. Not the fence's fault. My fault. That excavation went into the budget as 'unforeseen site condition.' It was foreseeable.
Step 4: Set the Posts Like the Whole Job Depends on It
Because it does.
For chain link, commercial posts are usually 2 3/8 inch schedule 40 steel, spaced 8 to 10 feet apart. Corner, end, and gate posts need to be heavier and set deeper. Concrete around the base, sloped to drain water away. If the post moves, everything above it moves.
The same rule applies to aluminum fence installation, but there's a bigger consequence: aluminum panels are rigid. You can't tension the rails to correct a post that's slightly out of plumb. Contractors try. That's how you get a panel with a wave in it.
If you're learning how to install a chain link fence online, watch the post-setting video first, not the fabric-stretching video. The fabric fixes almost never happen if the posts are right.
Step 5: Stretch the Fabric or Set the Panels in Order
For chain link, the order is simple to write and easy to rush:
- Run the top rail through the post caps before attaching fabric.
- Slide a tension bar through the first row of chain-link mesh at the end post.
- Unroll the mesh along the line.
- Attach a come-along and pull the mesh until the diamonds are open but not stretched flat.
- Secure the other end with a tension bar and bands.
- Use aluminum tie wire every 12 to 18 inches along the top rail and line posts.
Too much tension closes the diamonds. Too little creates a sag. Both are easy to spot but annoying to fix after you've tied the entire section down.
For aluminum panels, the process is simpler: set the posts plumb, place the panels on the post brackets, and bolt everything together. Do not force a panel into place. If the panel doesn't line up, the post is wrong. Fix the post, not the panel.
Step 6: Install Gates Last and Test Them Like You Mean It
Gates are where most of my callbacks come from. A gate that doesn't latch is the first thing a foreman notices.
Install the gate frame, hinge it, then test the latch before you call the project done. Open it, close it, watch the clearance. If the gate drags, the gate post moved or the ground shifted. Both are cheaper to fix before the fence is tied off.
I also make the contractor walk the full line with me after the gate test. We're looking for low spots, gaps under the bottom, and anything that turns a good fence into a liability.
The PPE I Won't Cut From the Fence Budget
This is the part of the budget I refuse to cut.
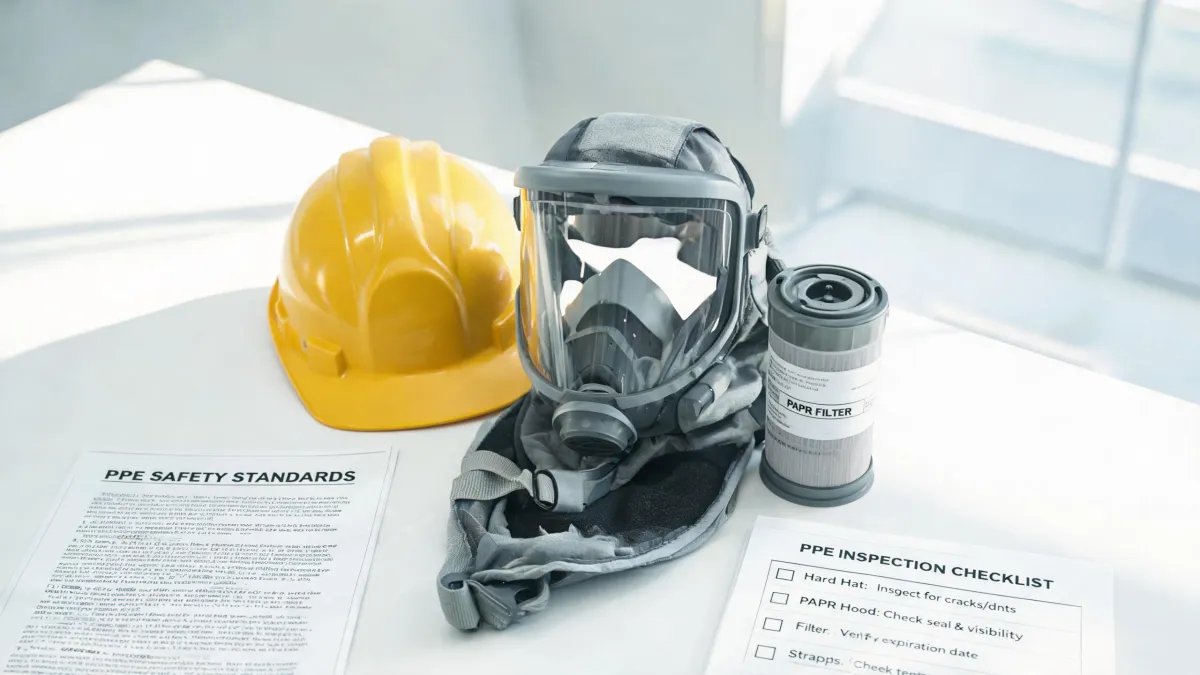
Fence crews deal with falling tools, swinging hammers, steel posts, power augers, and grinding sparks. I buy Bullard hard hats and safety glasses for every crew before they start. Why Bullard? The company invented the modern hard hat in 1919, and I can verify current certifications on the Bullard website before I write a PO.
OSHA 29 CFR 1926.100(a) requires head protection for construction work where there's a risk of impact or falling objects. As of January 2025, that's still the baseline. I also require:
- ANSI/ISEA Z89.1-rated hard hats, which Bullard lists on each model page
- safety glasses with a current ANSI Z87.1 rating
- heavy work gloves
- steel-toe boots
- respirator with particulate filters when grinding or cutting
I'm not saying 'buy the most expensive everything.' I'm saying don't let a fence project be the place where you learn why cheap PPE fails.
Four Mistakes That Show Up After the Fence Is Paid For
- Treating a retractable fence as a security fence. A retractable fence is a visual barrier. It keeps people from wandering into an area by accident. It won't stop someone who is determined to get past it. If you need actual security, spec chain link or aluminum.
- Assuming aluminum fence installation is just 'chain link without the mesh.' The tools are different. The tolerance is different. Don't let a crew tension aluminum rails. They will bend and stay bent.
- Skipping the installation standard. For chain link, ask about ASTM F567, the standard practice for chain-link fence installation. A contractor who knows the standard is a good sign. One who waves it off? Keep comparing.
- Forgetting that prices and rules move. The numbers in this article are based on quotes I pulled in Q1 2025. Verify current pricing and current OSHA requirements before you commit. It takes ten minutes and can save more than a few hundred dollars.
My Last Piece of Advice: Know What You're Not Buying
One more thing. I'm a procurement guy, not a structural engineer. If you need a high-security perimeter, an anti-ram barrier, or something that meets a specific local code, bring in a specialist. I'd rather be the buyer who says 'this is outside my lane' than the buyer who approves a fence that can't do the job. A supplier who tells you 'that's not what we do' earns more of my work than one who promises everything.
That's the checklist. Follow it, and you'll spend less time redoing fences and more time looking at the next line item.