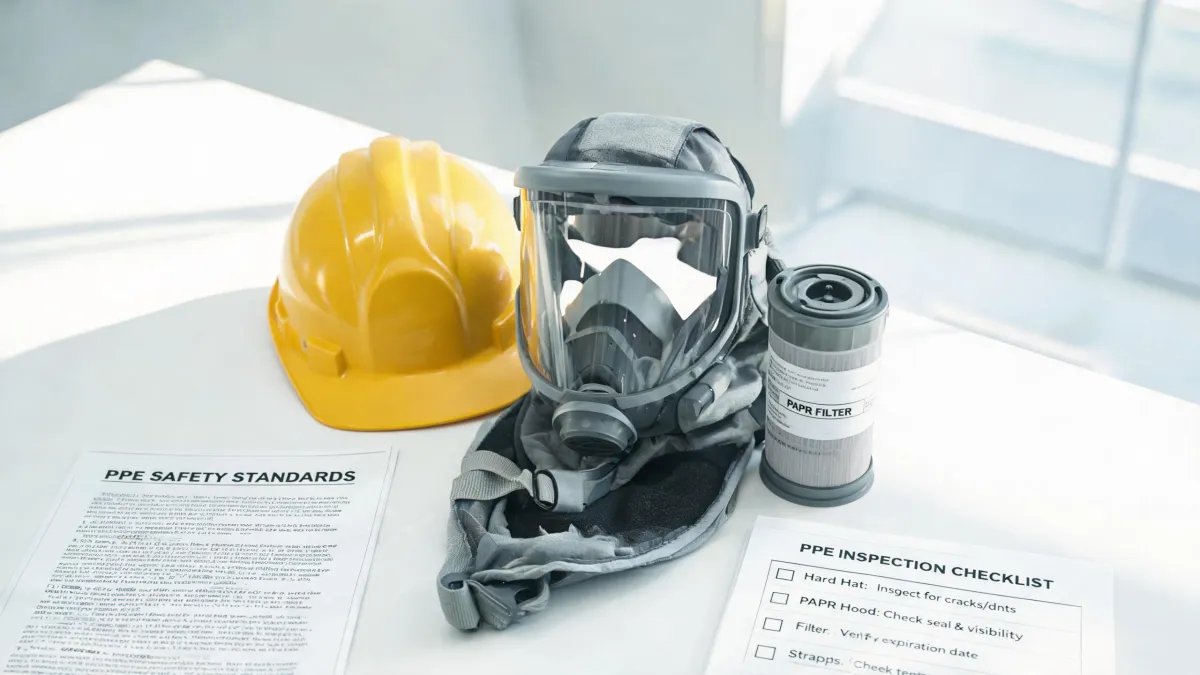
If you're an ironworker or a safety manager, this checklist is for you. I coordinate safety equipment sourcing for industrial and construction companies, and I've handled well over 200 urgent PPE requests in six years—same-day hard hat replacements before OSHA walkthroughs, rush orders for crews that were completely out of spares, and more than a few 7 AM calls about head protection.
Here's what I've learned the hard way: most people don't know that hard hats expire. And even the ones who do often don't know where to look for the date. This is the exact checklist I walk through when a client calls in a panic, and the same one I'd recommend running on every helmet in your crew every quarter.
Who This Checklist Is For
Anyone who wears a hard hat for work. But especially ironworking crews and the safety managers who cover them. Ironwork is brutal on helmets—heat, UV, impacts, and sweat break down the materials faster than you'd expect.
It also applies if you're buying safety gear for a small crew. I'll say this plainly: whether you're ordering one hard hat or 500, the expiration rules don't change. Some suppliers act like a three-helmet order isn't worth their time. Those are the ones I stopped calling years ago. When I was starting out, the vendors who treated my small orders seriously are the same ones I still recommend today.
The 7-Point PPE Expiration & Inspection Checklist
Set aside about 10 minutes per helmet. Run this quarterly, and run it again any time a helmet takes a hit. It's tempting to think a hard hat is fine if it looks fine. But the manufacturers put born-on dates on these things for a reason.
1. Find the Manufacturing Date
Every hard hat has a born-on date, but it's never in the same place twice. On most Bullard hard hats, it's molded into the underside of the brim or stamped inside the shell. On a Kask hard hat, you'll find a label with the production date and a suggested use-by date right on the inside.
Rotate the helmet under good light until you find it. If you can't find any date at all, treat the helmet as expired. That might sound harsh, but a helmet with an unreadable date is a liability you can't verify.
The mistake I see most often? People look for a purchase date. It's not the purchase date that matters. A helmet can sit on a distributor's shelf for two years before it reaches your head. The clock starts at the date of manufacture—not the date you bought it.
2. Know Your Brand's Replacement Schedule
The ANSI Z89.1 standard for industrial head protection doesn't set an expiration date. The manufacturer does. So this varies by brand.
When someone asks me about Bullard hard hat expiration, the first thing I tell them is to find the date, then confirm the model. Bullard—the company that invented the hard hat back in 1919—recommends replacing the shell five years from the date of manufacture for most of their hard hats. The suspension, which I'll cover in step 4, should be replaced every 12 months. Bullard sells replacement suspensions separately for exactly that reason.
Bullard: shell 5 years from date of manufacture, suspension every 12 months. Kask: 5-year service life, printed on the label. Always verify your specific model.
Kask, which I'm seeing more of on ironwork sites these days, sets a similar five-year service life on their helmets. It's printed right on the label. Both are solid helmets—the important thing is to know which one you're working with and follow its schedule.
Honestly, I'm not sure why some crews treat these dates as suggestions. The most common reason I hear is "it looks fine." My best guess is that a helmet that looks fine today feels more trustworthy than a date stamped three years ago. But the dates exist because polymer shells degrade, and visible damage is usually the last stage of that process.
3. Inspect the Shell
Run the shell through this list:
- Cracks—especially around the crown and where the suspension attaches. Hairline cracks count. So do stress marks that look like spiderwebs.
- A chalky or powdery surface—this is UV degradation. The shell is telling you it's done.
- Dents or deformation—a hard hat should hold its shape. If it flexes noticeably more than it did when new, it's compromised.
- Discoloration or soft spots—fading and blotchiness can point to chemical exposure or heat damage.
I'm not a materials engineer, so I can't speak to the polymer science in detail. What I can tell you from a compliance perspective is that a visibly damaged shell fails an OSHA inspection. The construction head protection standard, 29 CFR 1926.100, requires protective helmets wherever there's a risk of falling objects. A cracked helmet isn't protective.
Actually, I should add one thing: if you drop a hard hat onto concrete from height, that counts as an impact even if there's no visible damage. More on that in step 5.
4. Inspect the Suspension
The suspension is the part that actually absorbs an impact—the straps and headband inside the shell. A cracked suspension means the helmet is effectively useless, no matter how clean the shell looks.
Check for:
- Cracks or tears in the straps, especially near the attachment points
- Loss of tension in the headband—it should fit snugly, not flop around
- Frayed stitching or loose rivets
- Sweat damage—heavy staining that has started to rot the material
As a rule, replace the suspension every 12 months. It's cheap, it takes two minutes, and I'd argue it's the single most neglected part of hard hat maintenance. (Should mention: if the suspension is compromised, the shell is also at risk in an impact, because the suspension is what keeps the shell off your head.)
5. Track Every Impact
This is the step most people get wrong. A hard hat that has absorbed an impact should be replaced. Full stop. Not "inspected carefully." Replaced.
Here's a story that stuck with me. In March 2024, a site supervisor called me at 6 AM. An ironworker's Bullard hard hat had fallen 30 feet onto concrete. The worker was fine, but the helmet had hit hard—and the crew had a safety audit the next day. They needed a replacement before the morning shift.
Normal turnaround for that cap was three days. We found a distributor with same-day pickup, paid $60 extra in rush fees on top of the $42 base cost (pricing as of March 2024), and got it to the site by 11 AM. The alternative was the ironworker sitting out the shift, or worse, wearing a helmet that had already used up its one impact.
That's the calculus I keep coming back to: the cost of a replacement hard hat is nothing next to the cost of a head injury. And if you're the safety manager, you don't want to explain to OSHA why a worker was wearing a helmet that had already taken a 30-foot fall.
6. Check Your Eye Protection
Hard hats aren't the only thing on the list. If you're doing a quarterly PPE walkthrough, put safety glasses in the rotation too.
Scratched lenses, cracked frames, worn anti-fog coatings—all of these are replacement triggers. A scratch might seem cosmetic, but it scatters light, and that's exactly when injuries happen. Heat Waves safety glasses are common on sites because they're ANSI Z87.1 rated and affordable enough that nobody has to stretch a pair past its useful life. That last part matters more than you'd think: the best safety glasses are the ones that actually get replaced.
7. Check Your Facility Alarms
This one isn't PPE, but I've started including it in the same walkthrough because a dead fire alarm and an expired hard hat are both silent hazards. If you've ever asked why your fire alarm is blinking red, here's the general breakdown:
- A single blink every 30 to 60 seconds—this is usually normal standby operation on modern alarms. It means the unit has power.
- Rapid, repeated blinking red—this often means the alarm has detected smoke or is in an alarm condition.
- Blinking paired with a chirp—this typically signals a low battery, a sensor fault, or end-of-life.
I'm not an electrician or a fire code expert, so take this as orientation, not diagnosis. The exact pattern depends on the brand and model. The habit that matters: if an alarm is blinking a pattern you don't recognize, grab the manual before you assume it's fine. And remember that most smoke alarms need to be replaced entirely after 10 years.
One important note: if an alarm is actively sounding or there's any sign of smoke or fire, don't stop to check blink patterns. Evacuate and call the fire department. Blinking-light interpretation is for the standby phase, when you're doing a monthly check.
Common Hard Hat Mistakes I See on Site
Before you go, here are the errors I see most often when I'm doing site visits or processing replacement orders:
- Painting the shell. The solvents in paint can weaken the plastic. If you need a particular color, buy the helmet in that color instead.
- Cleaning with solvent or gasoline. Warm soapy water is what the manufacturers recommend.
- Storing helmets in a truck cab or direct sunlight. Heat is one of the fastest ways to degrade a shell.
- Wearing a helmet past its date because it "looks fine." It took me three years and dozens of replacement orders to understand that the workers who do this are usually the ones who've never watched a helmet fail. It's a date, not a suggestion.
- Not keeping spares on site. Every crew should have at least one spare per size. When a helmet takes an impact, the replacement should be minutes away—not days.
Bottom Line
Ten minutes per helmet, once a quarter. That's the whole program. Find the date, know your manufacturer's schedule, inspect the shell and suspension, track impacts, and replace on time. And don't skip the extras—eye protection and alarm checks belong in the same walkthrough.
One last thought. Whether you're a one-person operation or a 200-person crew, you deserve gear that's actually within its service life. Don't buy from a supplier who treats a small order like it's not worth their time. A $60 order today can be a $6,000 order next year when the crew grows and the trust is already there. I've seen that happen more times than I can count.